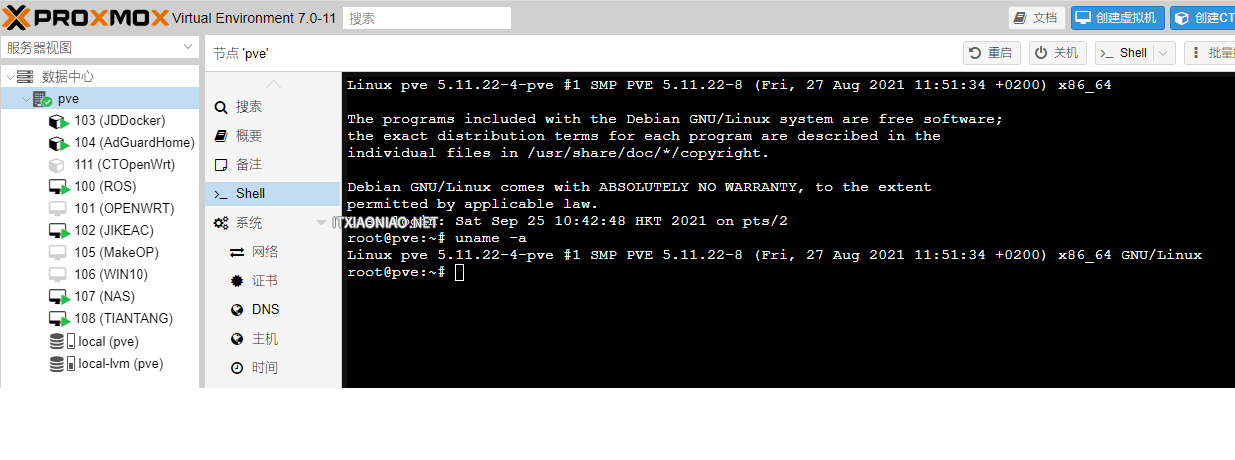
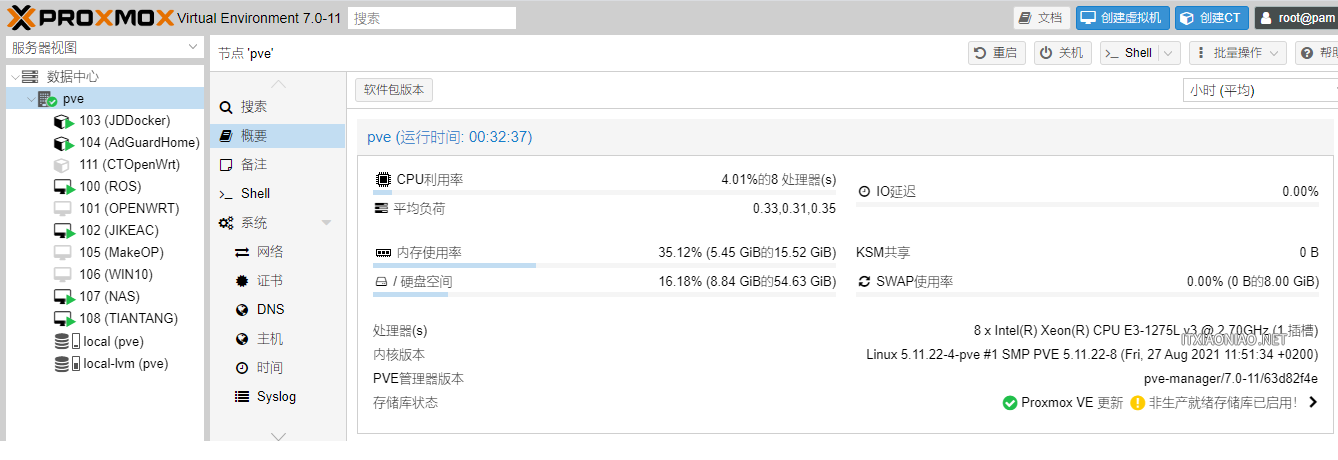
在更新之前,建议先把虚拟机全部关机,并且取消所有的自动启动,以免更新完重启需要太长时间!
1、在pve的shell下,输入以下命令(带有#开头内容为注释,不需要输入的,只输入不是#开头的,下同):
#修改PVE源
sed -i 's/buster\/updates/bullseye-security/g;s/buster/bullseye/g' /etc/apt/sources.list
#删除PVE企业源
rm -rf /etc/apt/sources.list.d/pve-install-repo.list
2、输入vi /etc/apt/sources.list ,按 i 进入编辑状态,把原来的内容全部删除,复制以下内容进去粘贴,保存退出;
# debian aliyun source
#deb https://mirrors.tuna.tsinghua.edu.cn/debian bullseye main contrib non-free
#deb https://mirrors.tuna.tsinghua.edu.cn/debian bullseye-updates main contrib non-free
#deb https://mirrors.tuna.tsinghua.edu.cn/debian-security bullseye-security main contrib non-free
#deb http://download.proxmox.com/debian/pve bullseye pve-no-subscription
deb http://ftp.debian.org/debian bullseye main contrib
deb http://ftp.debian.org/debian bullseye-updates main contrib
# security updates
deb http://security.debian.org bullseye-security main contrib
deb http://download.proxmox.com/debian/pve bullseye pve-no-subscription
3、输入以下命令更新系统(由于PVE的源在国外服务器,建议全局开飞机,否则更新非常的慢),期间有可能弹出类似下图的提示需要选择安装开发版本的界面,直接的按回车默认就行:
apt update && apt dist-upgrade -y
4、更新完成,输入 reboot 重启PVE;
5、启动好了以后,继续输入以下命令:
apt autoremove -y
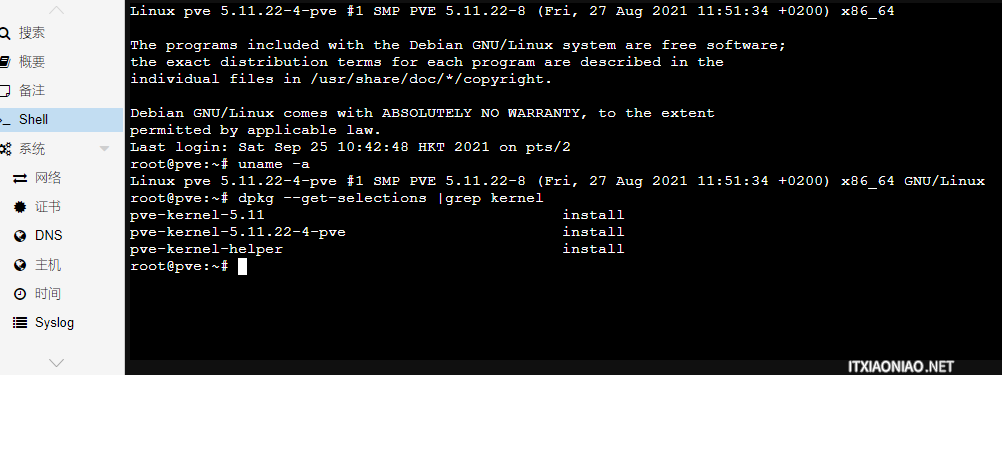
6、敲命令先查看当前系统内核,然后卸载无用的内核,保持系统干净:
#查看当前用的内核
uname -a
#查看系统有多少个内核
dpkg --get-selections |grep kernel

#卸载无用内核,命令后面的pve-kernel-***-pve,是根据上一条命令显示出来的内核,需要修改成你自己PVE显示的,后面显示有purge字样的为系统使用中,不可以卸载的,其他的均可以卸载)

dpkg --purge --force-remove-essential pve-kernel-***-pve
dpkg --purge --force-remove-essential pve-kernel-***-pve

#把不用的内核删除完成后,更新引导菜单
update-grub
#重启PVE
reboot
8、进入PVE以后,系统可能还会自动重启,属于正常现象,请耐心等候。等机器不再重启后,就可以把虚拟机启动起来。
9、优化PVE:
#安装时间同步工具,自动同步时间
apt install chrony -y
#安装网络配置修改后自动应用刷新的工具
apt install ifupdown2 -y
#删除以前的时间同步工具
apt remove systemd-timesyncd -y
apt-get remove --purge systemd-timesyncd


Comments | NOTHING